Fae in the Sunshine
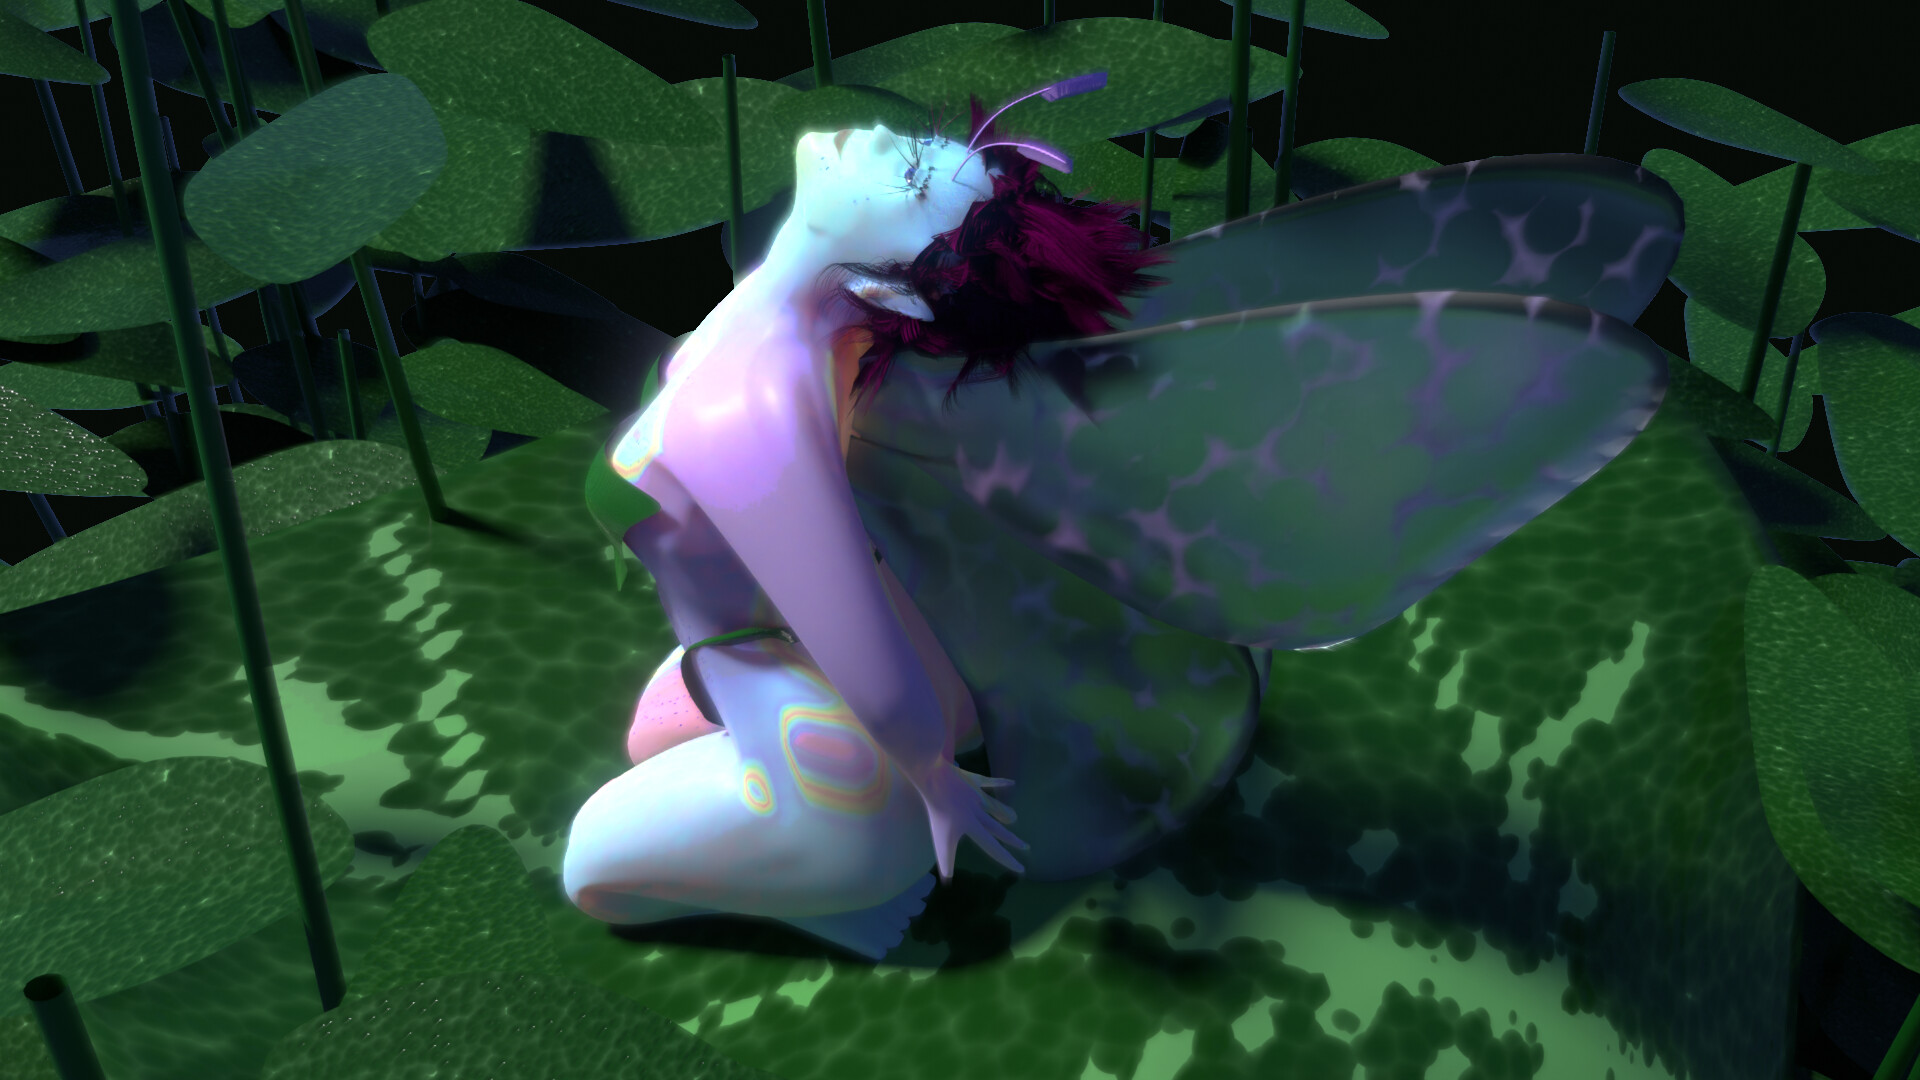
Final render of this vision.
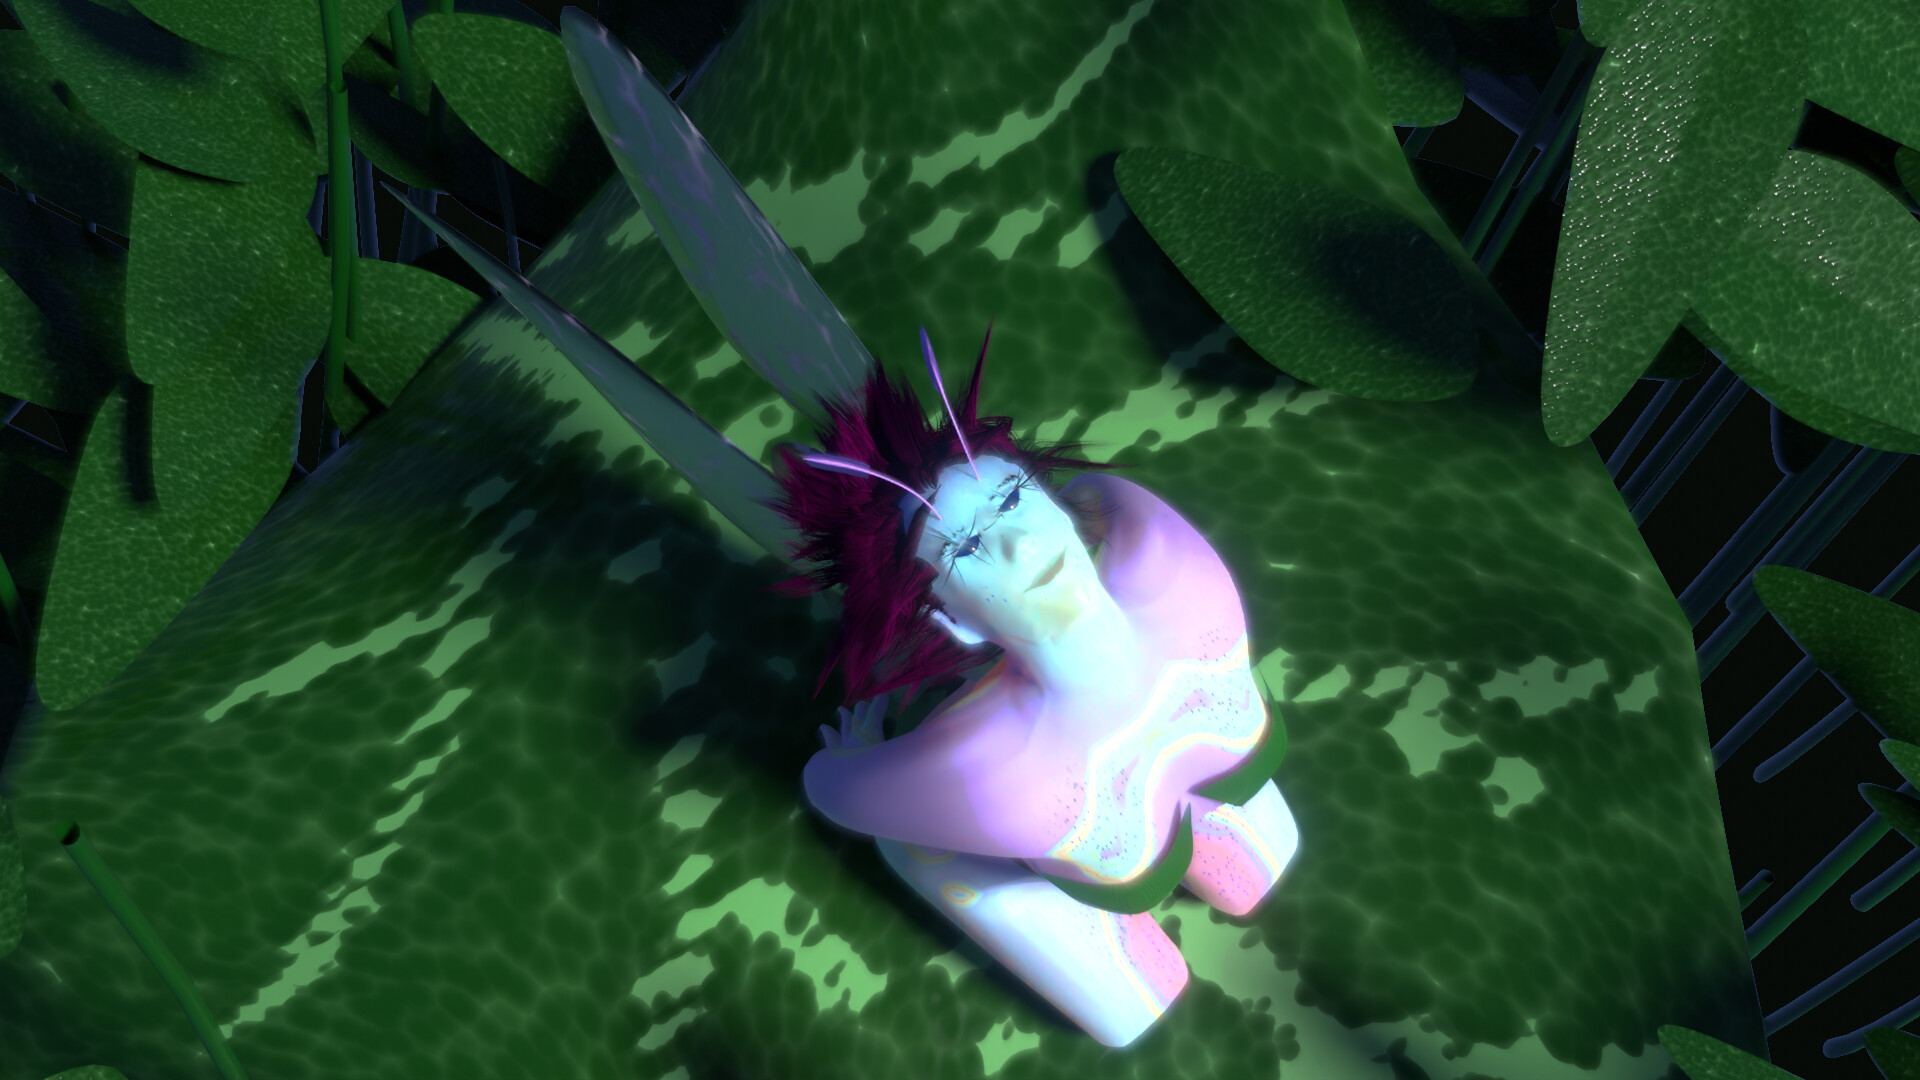
Final render, perhaps a little too zoomed in!
Early turntable, before refining the face (and, ya know... adding eyes and stuff.) I liked how the skin was coming along; it's fantastic, sure, but it also needs to be believable.
Early anaglyphic test to ensure that the geometry was doing what I wanted. (If you've got red/cyan anaglyph glasses, look for the bumps on the scalp and neck. This is how I detected them and knew to fix them!)
Of course! She was missing little bug antennae.


Check that out... it even uploaded properly to Sketchfab this time. (Mostly.)
I like mannequin-style tools when I'm in a pinch, but I didn't use any for this. Not MBLab, not Makehuman, not a purchased base model, little more than a few reference photos (in this case, "Glenda Various Poses") and a whole lot of primitives. It took a while to do, but I feel better for it.
It's fine, given that you're properly following your license, to use mannequinware to have an anatomically correct model, but there are downsides too—I dealt with quite a few of them on Tiamat and Argos. Adding new vertices to an established mesh is much more complicated than one would like, as you also need to update UV coordinates, vertex coloring, recheck your normals and crease strength, and any number of other things. Because of this, much like a sketch artist with an anatomy book, I'm hammering out quasihumans from scratch. The whole process took about two days of dedication, with references initially coming from "Glenda Various Poses" and any number of google images that I've already forgotten about...
Looking back, I spent way too much time on the feet, didn't I?
All materials are procedural, but to be fair, there was quite a bit of vertex painting involved. Skin is a musgrave texture piped to an HSV node, with its scale tied to vertex color (specifically green, I had other uses for red and blue). Red transitions the material from the character of the skin and body to the character of the wings, which use three glass shaders of IORs around 1.333 added together to create a prism effect. Blue was used for the subtle indigo freckles. Normal map is generated by adding the bumps of the freckles to a high-scale noise value, then piping it into a bump map.
I'll probably put up prints later, after it's done rendering high-res. There are also nudes, but Art Station's forced policy on that will require it to be a separate post marked mature. Seems melodramatic to me, but them's the breaks.